

How to Automate Lead Capture to Your CRM
The goal
Automatically add every new form lead to your CRM and alert the right person.
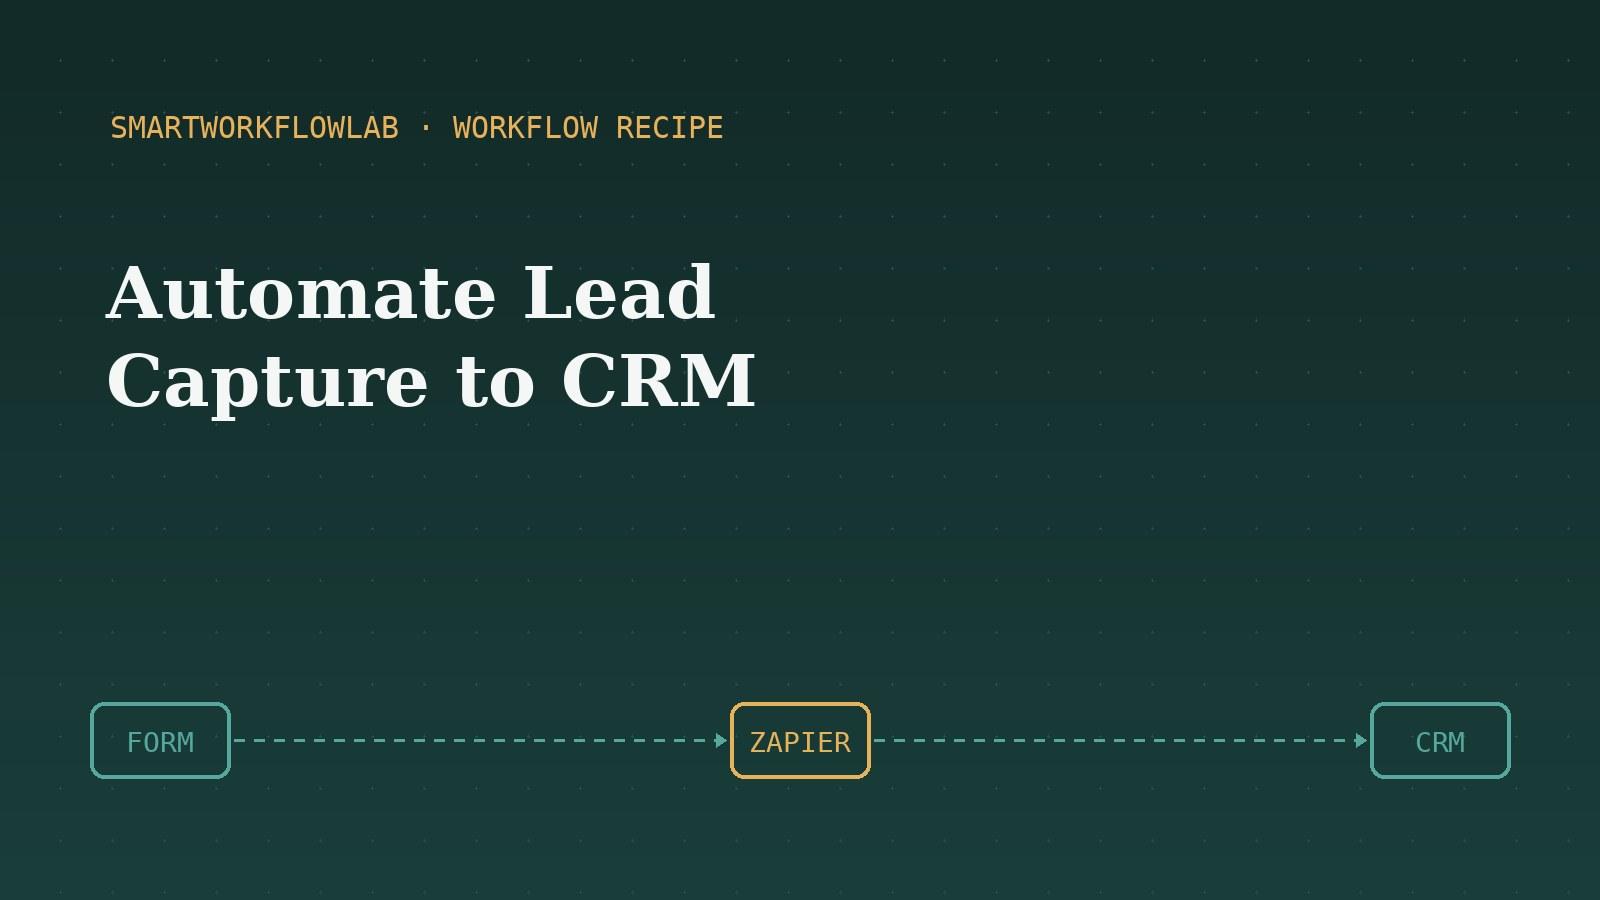
The faster you respond to a new lead, the more likely you are to win their business — yet manually copying leads from a form into a CRM is slow and easy to forget, especially when you’re busy. Automating it means every lead is captured instantly, entered accurately, and put in front of a salesperson right away.
This recipe connects your lead source to your CRM and adds a notification so someone follows up fast. It’s a beginner-friendly automation that pays for itself quickly in leads that don’t slip through the cracks.
What you’ll need
You’ll need a lead source (a web form, landing page, or lead ad), a CRM, and a free automation tool account. Most mainstream CRMs have ready-made connectors, so this is usually a straightforward, no-code setup.
If you’re weighing which automation tool to use, our Zapier vs Make comparison breaks down the options, and the AI workflow automation guide covers other high-value tasks worth automating.
Step-by-step guide
Identify your lead source
Pick where new leads come from — a contact form, a landing page, a Typeform, or a Facebook lead ad. This is the trigger point for your automation. If you have several sources, start with your highest-volume one.
Connect your form and CRM
In Zapier or Make, connect both your form tool and your CRM (such as HubSpot, Pipedrive, or Salesforce). You'll authorise each once so the automation can read new submissions and create CRM records.
Set the form submission as the trigger
Create a workflow triggered by "New Form Submission" or "New Entry". Every time someone fills out your form, this fires the automation.
Map the lead fields to your CRM
Match each form field to the matching CRM field — name, email, phone, company, and any custom fields. Getting this mapping right ensures clean, usable data in your CRM rather than a mess to fix later.
Create the contact or deal
Add an action to create a new contact or lead in your CRM using the mapped fields. Optionally, also create a deal or opportunity so the lead enters your sales pipeline automatically.
Notify the right salesperson
Add a second action to alert your team — a Slack message, an email, or a task assignment — so a real person follows up quickly. Speed of response is one of the biggest factors in converting leads.
Test end to end and go live
Submit a test lead through your form and confirm it appears correctly in your CRM and that the notification fires. Once verified, turn the automation on and every future lead flows through automatically.
Frequently asked questions
Why automate lead capture instead of doing it manually?
Manual lead entry is slow and easy to forget, and every delay in following up reduces the chance of converting a lead. Automation ensures every lead is captured instantly, entered accurately, and routed to a salesperson to follow up quickly — which directly improves conversion.
Which CRMs work with this automation?
Most popular CRMs work, including HubSpot, Pipedrive, Salesforce, Zoho, and many others, because automation tools like Zapier and Make have pre-built connectors for them. Check that your specific CRM is supported before you start, though most mainstream ones are.
How fast will leads appear in my CRM?
Usually within seconds to a couple of minutes, depending on your automation tool's polling or webhook setup. Webhook-based triggers are near-instant, which is ideal for lead capture where fast follow-up matters.
More workflow recipes
Last updated July 12, 2026